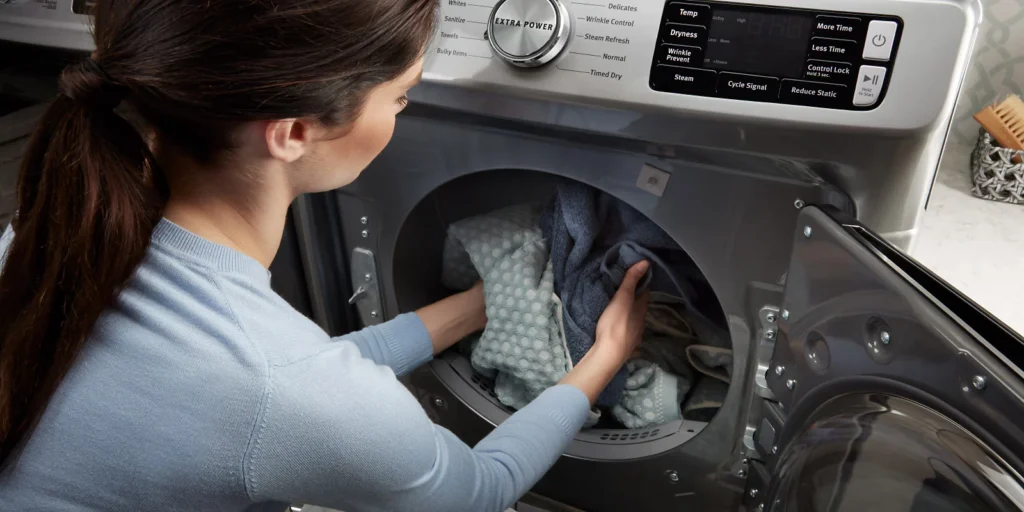
Dryer Not Drying Clothes If your dryer finishes a cycle and the laundry still feels damp—or worse, downright wet—you’re not alone. Most “no-dry” complaints come down to a handful of fixable issues: restricted airflow, the wrong cycle, or a component that needs attention. This guide walks you through quick wins first, then progressively deeper checks. Take it step by step; you’ll either solve it or have a clear diagnosis to share with a technician.
Safety first: Unplug the dryer before opening panels. For gas models, close the gas supply valve. If you smell gas, stop and call a professional immediately.
The 60-Second Quick Check
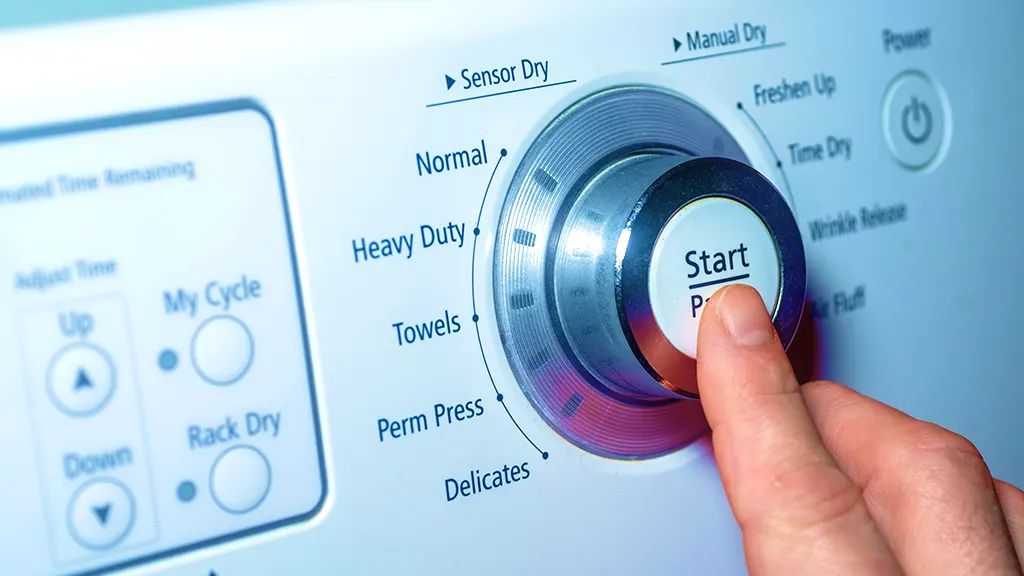
- Cycle & temperature: Confirm you didn’t choose “Air Fluff/No Heat,” “Eco,” or “Delicates” when you needed normal heat. Increase the dryness level if your model allows it.
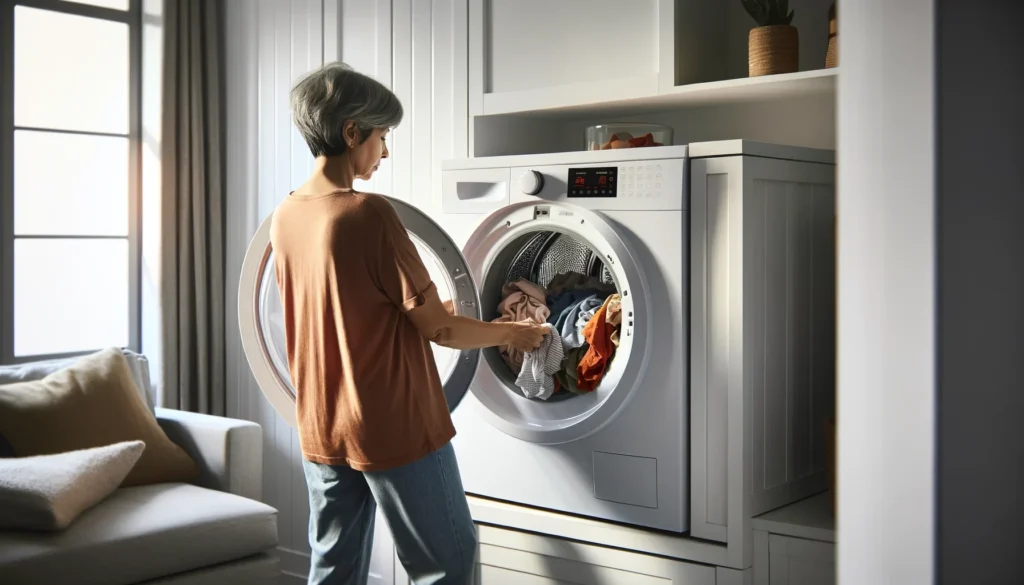
- Load size & mix: A common mistake leading to a dryer not drying issue is overstuffing the drum. Overstuffed drums or mixed heavy/light fabrics dry unevenly. Try smaller, similar-weight loads.
- Lint screen: Pull it out and clean it thoroughly. If dryer sheets are used, wash the screen with warm water and a drop of dish soap, then dry.
- Outside vent flap: Step outside while the dryer runs on heat. Is the exhaust flap opening with a strong, steady airflow? If not, suspect a vent restriction.
- Power & gas: Electric dryers need both legs of a 240V supply; a half-tripped breaker may let it tumble without heating. For gas dryers, ensure the gas valve is open.
If one of these fixes the problem, great. If not, keep going.
Tools You Might Need
- Vacuum with crevice tool
- Vent brush or flexible cleaning kit
- Flashlight
- Screwdriver set (Phillips/flat)
- Small cup of white vinegar or isopropyl alcohol (sensor cleaning)
- Optional: Multimeter for continuity tests (advanced)
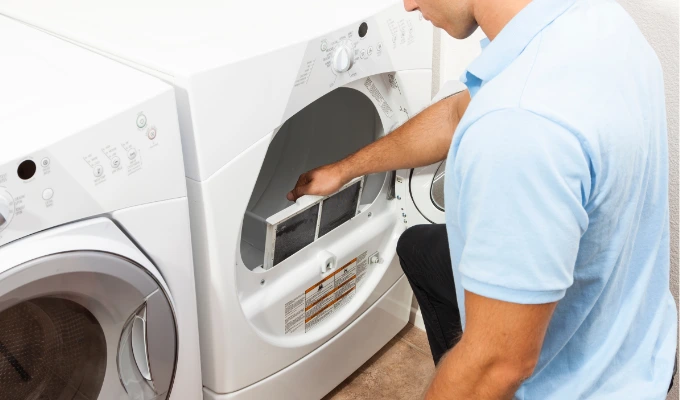
Step 1: Clean the Lint Screen and Housing
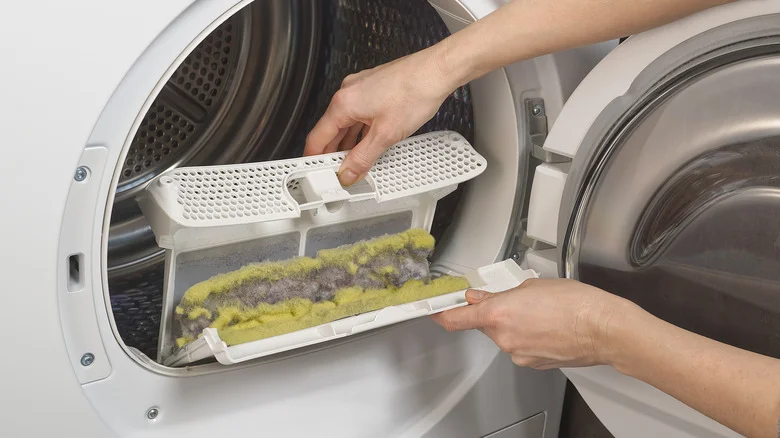
One of the most common reasons for a Dryer Not Drying problem is a clogged or dirty lint screen.
- Remove the screen, wash with warm soapy water (if you use dryer sheets), rinse, and fully dry.
- With the screen out, vacuum the screen housing to remove hidden lint.
- Reinsert the screen firmly.
Result to expect: Better airflow, shorter dry times, and fewer overheating shutdowns.
Step 2: Inspect and Optimize the Venting
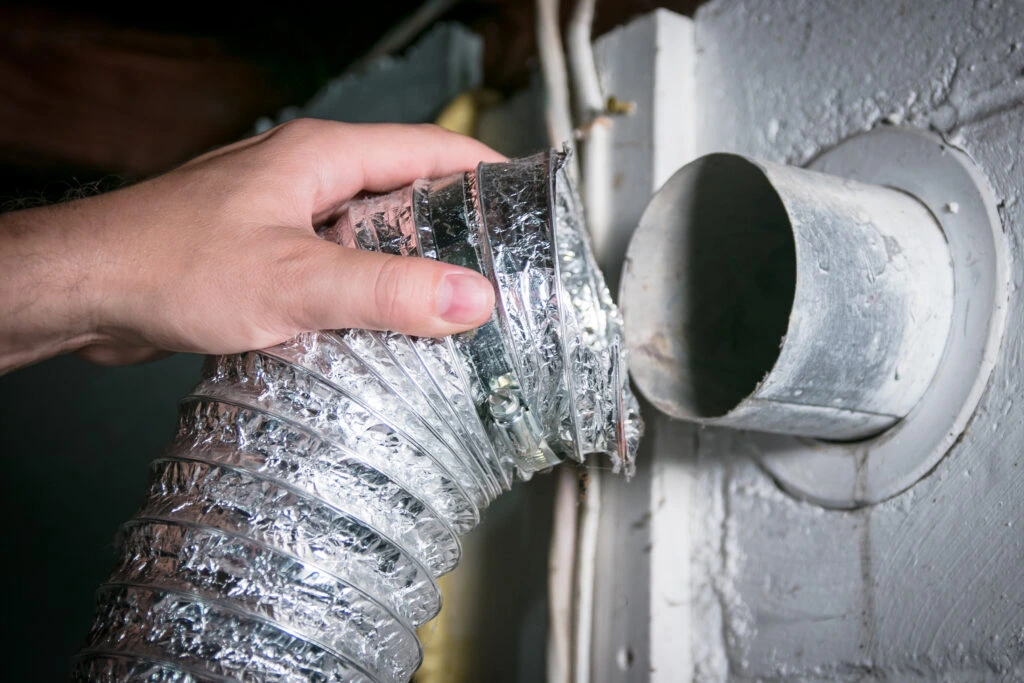
Airflow is the lifeblood of drying. A restricted vent causes long dry times and overheating.
- Behind the dryer: Verify the hose isn’t crushed or kinked. Replace flimsy foil or plastic with semi-rigid or rigid metal ducting.
- Run length & elbows: Keep the run as short and straight as possible. Each sharp elbow adds resistance.
- Wall/roof hood: Make sure the damper moves freely and isn’t blocked by lint, bird nests, or snow.
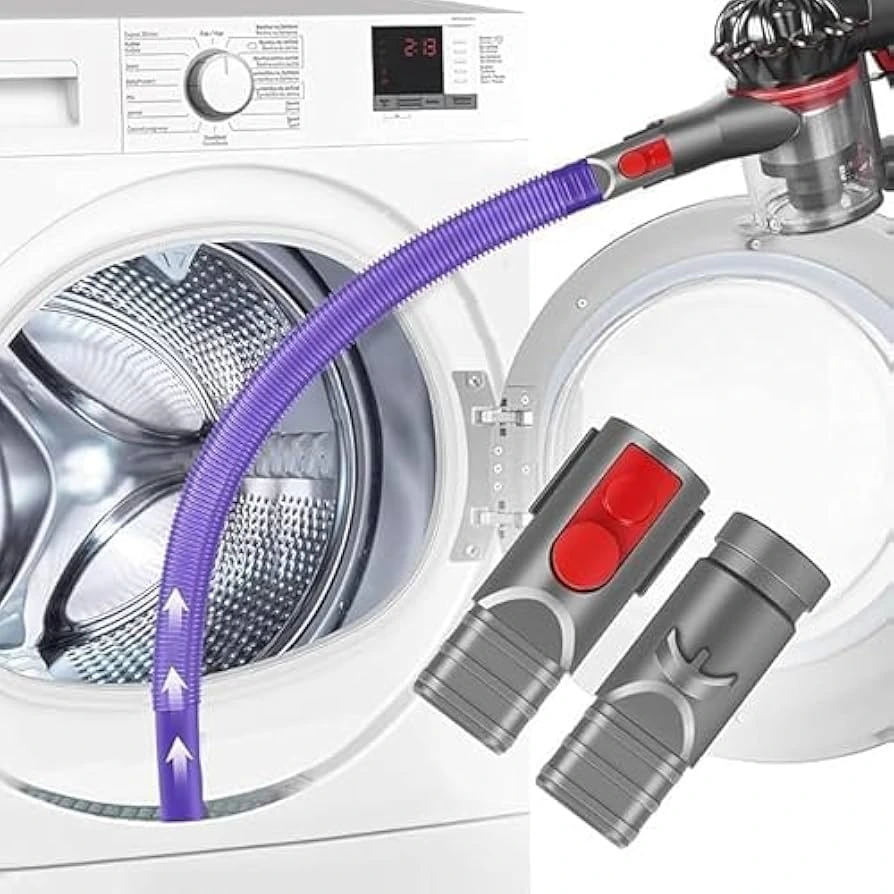
- Deep clean: Use a vent brush kit from the dryer to the exterior hood. If your run is long, consider a professional vent cleaning.
Tip: If airflow improves but clothes still won’t dry, the machine may also have a heat or sensor issue—continue below.
Step 3: Verify the Dryer Is Actually Heating
This quick observation tells you what path to follow.
If you notice your Dryer Not Drying properly, a quick way to test the heating system is to run a short diagnostic check.
- Run the dryer on High Heat for 3–5 minutes with the drum empty.
- Open the door: Is the interior warm?
- Warm but damp loads: Airflow or moisture sensing is likely.
- Not warm at all: Heating system (element, igniter/coils for gas, thermostat, thermal fuse) needs attention.
Step 4: Clean the Moisture Sensor Strips
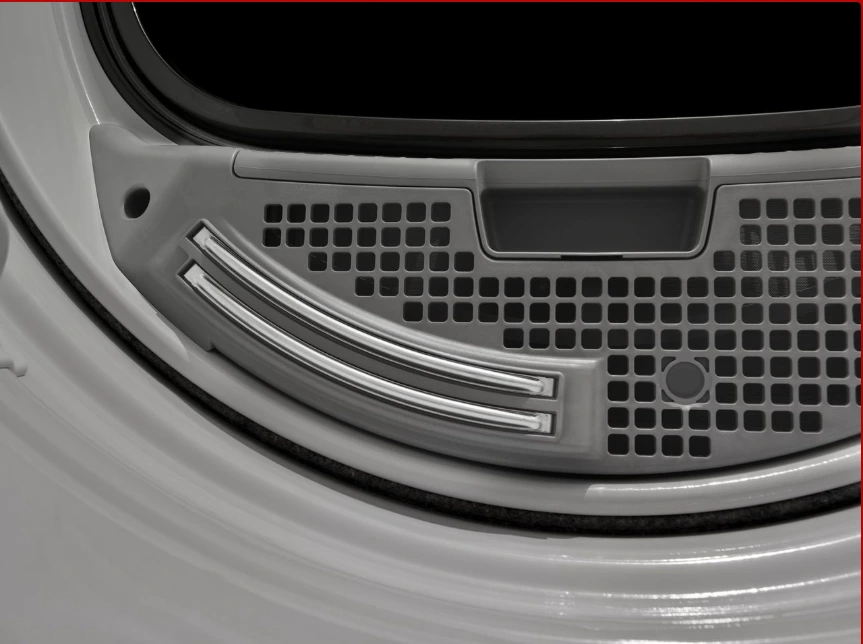
Moisture sensors (usually two metal strips near the lint screen or inside the drum) can get coated and “think” clothes are dry.
- Power off. Wipe the strips with a cloth lightly dampened with white vinegar or alcohol.
- Run a small load on an Auto (sensor) cycle to test.
If Auto cycles now run longer (and clothes are dry), you’ve found the culprit.
Step 5: Check Load Composition & Habits
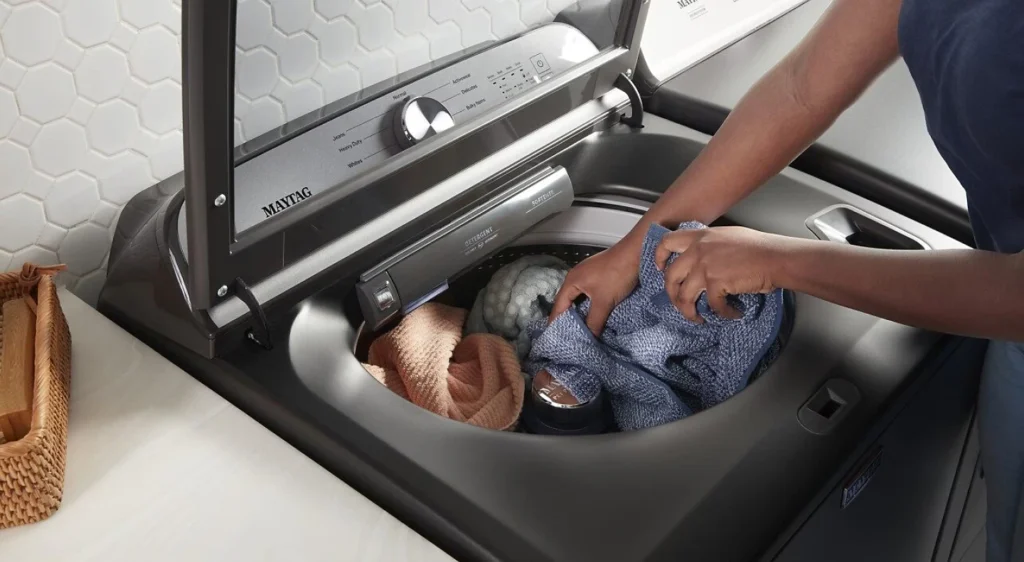
- Towels with synthetics: The synthetics dry fast and can trick sensors; towels remain damp. Dry heavy cotton separately.
- Spin speed matters: If your washer’s final spin is slow, the dryer works overtime. Use a higher spin speed when possible.
- Dryer sheets & fabric softener: These can coat sensors and lint screens. Use sparingly or switch to wool balls.
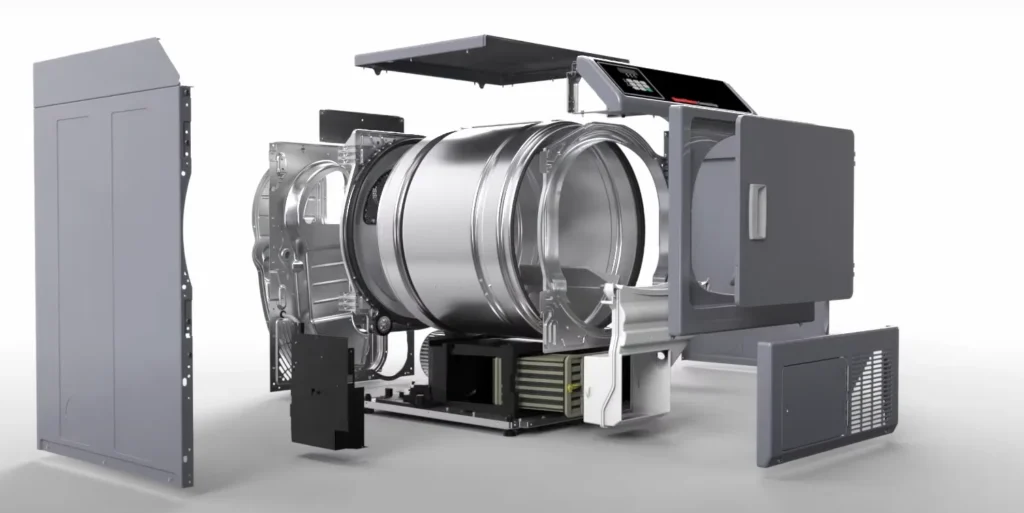
Step 6: For Condenser/Heat-Pump Dryers (If Applicable)
If you have a ventless model:
- Clean the condenser unit (removable on many models) and rinse until the water runs clear.
- Check air filters before and after the condenser.
- Clear water tank/hoses so moisture can be removed efficiently.
Step 7: Advanced DIY—When There’s No Heat
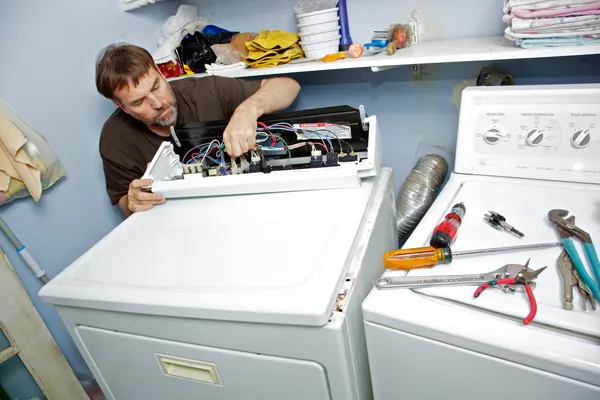
If you’re comfortable and the unit is unplugged (gas off for gas models), you can check common parts. If any step feels out of depth, skip to When to Call a Professional.
Electric Dryers
- Thermal fuse: A blown fuse prevents heat. It’s often near the blower housing. Test for continuity with a multimeter; replace if open.
- Heating element: Look for breaks or grounds to the housing. Test for continuity; replace if open or grounded.
- High-limit thermostat/thermistor: If out of spec, the system may cut heat prematurely.
Gas Dryers

- Igniter: Should glow. If it glows but there’s no flame, suspect gas valve coils.
- Gas valve coils: A Common failure that causes the flame to start then stop after a few minutes.
- Flame sensor: If stuck open, it won’t allow ignition.
Note: Parts often fail because of poor airflow. Always address venting before replacing components to prevent repeat failures.
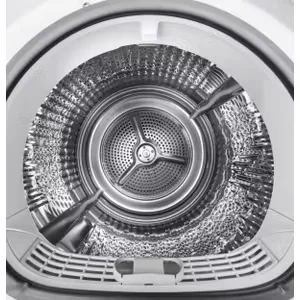
Step 8: Drum, Blower, and Airflow Inside the Cabinet
- Blower wheel: Lint or a loose fit can reduce airflow. Listen for rattling or weak air at the vent, even when the heater works.
- Faulty door switch: One common cause of a Dryer Not Drying problem is a faulty door switch.
- Belt & idler pulley: If the drum isn’t turning at full speed, dry times increase.
Step 9: Maintenance Schedule to Prevent Comebacks

If your dryer is not drying clothes effectively, the cause often comes down to poor maintenance.
- Every load: Clean the lint screen.
- Monthly: Vacuum around/under the dryer; wipe moisture sensors.
- Seasonally: Clean the entire vent run; inspect the exterior hood and weather flap.
- Annually: Pull the dryer forward, check the duct for damage, and ensure a tight, metal-to-metal connection.
When to Call a Professional

Stop DIY and schedule service if you notice:
- A burning smell, scorching, or repeated overheat shutdowns
- Gas odor or ignition failures
- Breaker trips, sparking, or melted wiring
- No drum movement or loud grinding/squealing
- You’ve replaced a part, but the problem returns (often a sign of underlying airflow or control issues)
For fast, local help, you can Book an appointment. Our team provides Professional Appliance repair on all major brands and models. Have questions before you schedule? Contact us and we’ll point you in the right direction or arrange same- or next-day service where available. If you already know you need a specialist, see our dedicated Dryer repair page.
FAQ
Why does my dryer get hot, but clothes won’t dry?
This usually indicates poor airflow. Check the lint screen, vent hose, outside hood, and internal vent run. Mix-and-match loads (heavy towels with light synthetics) can also fool moisture sensors.
How long should a normal load take?
On a standard vented dryer with good airflow, mixed cotton loads typically take 45–60 minutes on medium or high heat. Bulky items (comforters, towels) can take longer.
Is it okay to use a leaf blower to clear the vent?
We don’t recommend it—this can push lint into the cabinet or create a mess inside the wall. Use a vent brush kit or hire a professional vent cleaning service.
What’s the best vent hose type?
Rigid or semi-rigid metal ducting with smooth interiors. Avoid plastic flex or thin foil ducts; they crush easily and trap lint.
Can a bad moisture sensor stop the dryer from heating?
On Auto cycles, a coated or faulty sensor can end the cycle early. On timed-dry, heat should continue regardless of sensor input. If there’s no heat on timed-dry, focus on the heating system.
Quick Troubleshooting Map
- Damp and cool: No heat → check breakers (electric), gas supply (gas), then fuses/element/igniter/coils.
- Warm but damp: Airflow or sensor → clean lint screen/housing, vent run, outside hood; wipe sensors.
- Stops early on Auto: Clean sensors; try Timed Dry. If Timed Dry works, replace/clean the sensor, or check the control settings.
- Tumbles forever but never dries: Vent restriction or heater failure.
- Smell or noise: Stop and call a pro.
Final Thought
Dryers are simple machines at heart: heat, airflow, and time. When one leg of that triangle is weak, dry times balloon. Start with airflow, confirm heat, and keep the sensor clean. If you need help beyond this guide, scheduling is easy—Book an appointment or contact us, and we’ll take it from there.
